
I want to be fair here, because it would be easy for me to just trash the box on the shelf. Plenty of people have rolled out a garage kit on a Saturday and been happy with it. If your budget is the budget and a kit is what fits, I would rather you do it well than not at all.
But you should know exactly what you are buying and where the differences are, because most of the failed floors I get called out to look at started as a weekend project that went fine for two years.
The difference starts before the coating
Almost every kit tells you to clean the slab and etch it with an acid solution. Etching does something — it takes the shine off and roughens the very top of the surface. What it does not do is open the concrete up. It cannot reach past contamination, it cannot remove an old sealer reliably, and it will not touch a spot where twenty years of oil soaked in.
Professional prep is mechanical. We run 20-grit diamond grinding with dust extraction until the concrete profile is genuinely open, and the coating locks into that texture. That single difference is most of the gap in outcomes, and it is the one you cannot buy in a box.
Then the chemistry is thinner
Retail kits are formulated so a first-timer can survive them, which usually means thinner material with a friendlier working time and a lower solids content. What ends up on the floor is a thin film. We build with a 100% solids cycloaliphatic epoxy body coat, which is a different thing in both thickness and hardness.
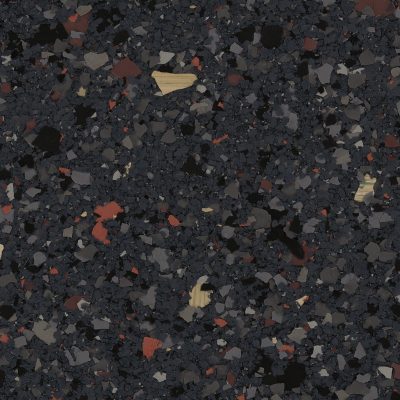
The flake is the other tell. Most kits include a shaker bag of chips meant to be sprinkled for decoration. We do a full broadcast — flake thrown until the surface is completely covered, then scraped smooth once it cures. It is a different look and a different floor.
And the topcoat is usually missing
This is the big one for New Mexico specifically. A lot of kits are a single coat with no separate topcoat at all, which leaves epoxy as the surface facing the world. In our sun, exposed epoxy ambers, especially in the strip by the door. And with nothing hard on top, hot tires get to work directly on the body coat.
Every floor we build finishes with a commercial-grade polyaspartic topcoat that is UV stable and hot-tire resistant. That is the layer that decides how a garage floor looks in year five, and it is the layer kits leave out.
The clock is not on your side
Coating work is a timed event. Mixed material has a working window, and flake has to go into a body coat that is still wet. On a real install there is a crew moving in a planned sequence, which is how most residential garages get done in a single day. Alone with a roller and a bag of chips, that window is unforgiving, and there is no pausing to read the instructions again.
The math nobody puts on the box
Here is the part that decides it for most people. If a kit floor fails, the next floor costs more than it otherwise would have, because now the failed coating has to be ground off before anything can go down. You do not get to start from where you started. You start from behind.
As of August 2026, garage floors from us run about $5 to $7 per square foot installed. Compare that to a kit plus your Saturday, plus the risk of paying for removal later, and the honest gap narrows a lot. If you want the full breakdown of what moves that number, I wrote about cost by garage size and, more generally, about what actually drives the price of an epoxy floor here.
If you are going to DIY anyway
Then do these three things. Rent a grinder instead of relying on acid. Buy a real topcoat separately, and make sure it is UV stable. And check your slab for moisture before you commit, because no product survives water pushing up from underneath.
And if you want to see what a full broadcast actually looks like before you decide, our color page has all 517 Torginol flake blends plus 36 UV+ colors on it.
Either way, I am happy to give you a straight opinion on your slab, free. Call or text me at 505-352-4674 or send the free quote form, and if a kit really is the right call for your situation, I will tell you that too.